Showing posts with label Photoshop. Show all posts

Sunday, November 22, 2009

Abstract brushing tutorial in photoshop


This is just the basic brushing, it is what I start off in a picture,
to brush the background etc. For this walkthrough you definetaly
should have some Photoshop skills.

1-To start off, you go to the brushing options.

Select a normal airbush and put some texture to it.

Apply the settings from picture A. The texture, will give us a cloudy effect,

which is very usefull later on, because the brushing at the end should

have some dark parts. But you'll see. ( View Image )

2- After you have finished step 1. You set the opacity of the

brush to about 61. Attention, you need to have created a

new layer for the brush! Now start marking some dots with

your brush. Try to always to seperate dots, this will be

important for the end result. After you finished, you

should have something looking like picture B. ( View Image )

3. The thrid step is rather simple. You start of selecting the

smudge tool. Select a grungy brush, with the opacity=71.

Now start smudging the edges of our "Brush-layer".

Try to brush in "zig-zag" way. Try not to smudge too hard,

and do not smudge through the middle, because this will

give the brushing, a nice detailed look. ( View Image )

4- Have your brush layer still selected, and now go

to filter--Distort--Wave and click ok. We are not trying

to change any strengths or anything. After you put on the

wave modifer, you straight go to Edit--Fade Wave,

and set the stength to about 54. This should give you the effect on D.
(
View Image )

5- This is one of the most important but also the easiest step

in the walkthrough. Go to Edit--Transform--Perspective.

With the perspective modifer you give the brushing a nice look,

for example that it is going towards something.

This is important, because through this, you add depth

to the final picture. Play around with the perspective,

and you should get something like in E. ( View Image )

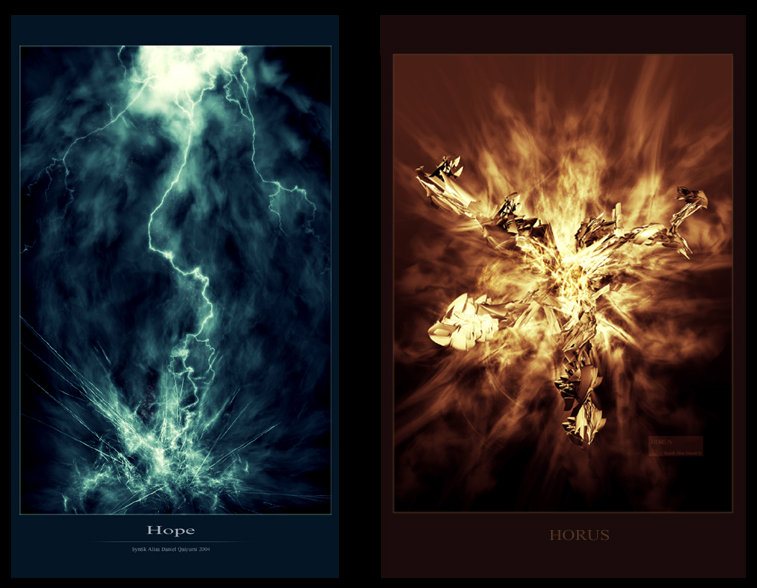
Example of works using this technique...

from idigitalemotion

Read More..

Easy orbs

First, make a new doc and have the

pixels the same size ( ex - 1000x1000 px)

Start off with a new layer and fill the layer black

with the paint bucket

Now go to Filter > Render > Lens flare.

Set the precentage to 120 (or whatever you like)

and click on 105 mm Prime as shown above.

Now go to Filter > Distort >

Polar Coordinates and click on

"Polar to Rectangular"

at the bottom of the screen.

Now got to Image > Rotate Canvas > 180 degress,

then go back to Polar Coordinates and this time,

click on Rectangular to Polar and you'll get this sphere.

Click on the Elliptical tool and get as close to the edge

of the sphere as you can and hit shift+ctrl+I and hit delete.

Now all you should have is a sphere.

Now to make it different colors, hit Ctrl+U,

click on the Colorize box and make

the sphere into any color you wish.

This is basically how I was able to do the

glass atom and the globe.

This have really helped me improve my

digital art skills and I hope it will help you as well.

From idigitalemotion

Read More..

Text effect

1) New document
Horizontal Type Tool,
write whatever you like
rasterize the layer..

2) Use these settings


From idigitalemotion


3) Final Image with
whole text.


Read More..

speeding

Securities that will be practiced this time, to display the object as if they were moving quickly.
How:
Prepare a photo / picture to be manipulated.
Selection of objects or areas that will be effect.Use selection tool or pen Selct menu tool.And then-Inverse or press CTRL + Shift + I, to reverse the selection area.
Select the menu Filter-Blur-Motion Blur dialogMotion box Blur.Pada following settings:
Angel: 29 degrees
Distance: 70 pixels
click OK.
To set the angle adjusted to the object
you use.

4. Select the Filter menu again on Blur.Setting Gaussian Blur
Radius: 3.0 pixels.And then click OK.

5. Finally, remove the selection area.Choose menu Select-Deselect
or press Ctrl + D.
The final result:


Read More..

Creating Matrix Background with Photoshop

Step 1) The first step is to create a new images with 300pixels by 300pixels and a resolution of 100. Make sure that the content type is set to transparent. (you can make it whatever size you want but we'll use these dimensions for this tutorial.)

Step 2) In the layer window add 2 extra layers.


Step 3) In “layer 1” add some clouds. Filter>Render>clouds.
You should have something that looks like this.

Step 4) Do the same in layer 2 and 3 by clicking on each layer and pressing Ctrl-F. each layer will be different but in layer 3 try to make it more light than dark by pressing Ctrl-F until you get it. They should look something like this.

Layer 2 layer 3

Step 5) Start with layer 1 and use the mosaic pixelate filter on it. Set cell size to 12
Filter>Pixelate>Mosaic.

In layer 2 do the same but set cell size to 10. And in layer 3 set cell size to 8.
Your layers should look like this. (notice that the cells get slightly smaller in each picture)

Layer 1 Layer 2 Layer 3


Step 6) In each layer and the “find edges” filter. Filter>Stylize>Find edges.

Layer 1 Layer 2 Layer 3

Step 7) Start with layer 1 and use the glowing edges filter,. Filters>Stylize>Glowing edges. Then continue with layer 2 and 3 by using the same filter. Follow images below, they contain the attributes for each layer's glowing edges filter.

Layer 1

Now on to Layer 2

Layer 3

Step 8) set layer 3's opacity to 36% and layer 2's opacity to 70%. It should look something like this. All the images blended together.

You can change the opacities to whatever you want to make it how you want it.

Step 9) Flatten the Image. Layer>Flatten image

Step 10)Change the hue of the image to make it look “computery”
Image>adjustments>Hue/Saturation. The following settings are what I used but you can make it any colour you want. make sure you have the colorize box checked.

Finished - the finished product should look something like this…

This article is originaly posted by : http://www.idigitalemotion.com/tutorials/guest/computer/computer.html

Read More..
Related Posts with Thumbnails